Well… this is LONG overdue. I’m finally sharing my recipe for bone broth! For years now, I figured no one really needed another bone broth recipe, so why should I share mine? I was wrong. Of course, not everyone is reading the same blogs or books and maybe, just maybe, this here blog is a go-to source for you. You’ll make my heart explode if that’s the case for you. 😉
For the longest time, I always used a slow cooker to make my bone broth. That was until I got my Instant Pot. Broth in a couple hours? Um… YES PLEASE! The Instant Pot has become a weekly go-to for getting dinner to the table fast, and for those last minute bone broth emergencies. You have those too, right?
Bone broth can be extremely healing for our gut lining. It contains collagen which is a major building block for our skin, hair, nails, bones and joints! It’s such a nutrition powerhouse with all the essential amino acids (these make up proteins) and vital minerals. You can find out more about the benefits of collagen in my earlier post.
Before I share my recipe, I have a few handy tips to help you with your broth:
- Clean and save the scraps from fresh carrots, celery and onion in a freezer safe container. I use a handful or two of these scraps in my broth instead of cutting up vegetables specifically for making broth. It’s a great way to save some money and use up as much as you can of your tasty vegetables!
- If your broth isn’t completely gelatinous, that’s totally OK. A couple of things may have happened: not enough connective tissue with the bones you used, or your heat was too high. Either way, you still have an excellent source of healthy amino acids and minerals. You can add Vital Proteins Beef Gelatin to your bone broth if you’d like to get that gelatinous texture.
- One way to increase your chances of having gelatinous broth is to add several chicken feet to your broth. There is a ton of connective tissue in those feet that will help you boost the gelatin content in your broth.
Below you’ll find my method for cooking bone broth using a slow cooker and an electric pressure cooker, such as an Instant Pot. (PS I love my Instant Pot!) I don’t like to add a lot of salt when I make my broth. That way, you can season it how you like when you use the broth for cooking.
Nutrient Dense Bone Broth
Ingredients
- 1-2 lb Bones (Chicken/Turkey Carcass, Beef Knuckle Bones or Soup Bones)
- 2-4 Chicken Feet (optional)
- 1 tsp Sea Salt
- 1 Tbsp Unfiltered Apple Cider Vinegar (ACV)
- 5 cloves Garlic smashed with the side of a large knife
- 1 tsp Whole Black Peppercorns
- Filtered Water
- 1-2 Carrots cut in 2 inch pieces
- 1-2 Stocks Celery cut in 2 inch pieces
- 1/2 Onion cut again in half
- 1 Bay Leaf
- 1 sprig Thyme (optional)
- 1 sprig Rosemary (optional)
Instructions
Directions for the Slow Cooker
- Add the bones and optional chicken feet to the crock of a slow cooker. These can be frozen or fresh.
- Add in the salt, ACV, smashed garlic, and whole black peppercorns.
- Cover everything with filtered water, until all the ingredients are fully submerged.
- Set to low and cook for 24 hours.
- When there’s about 8 hours left on the cooking time, add the remaining ingredients, and continue to cook.
- Allow broth to cool completely.
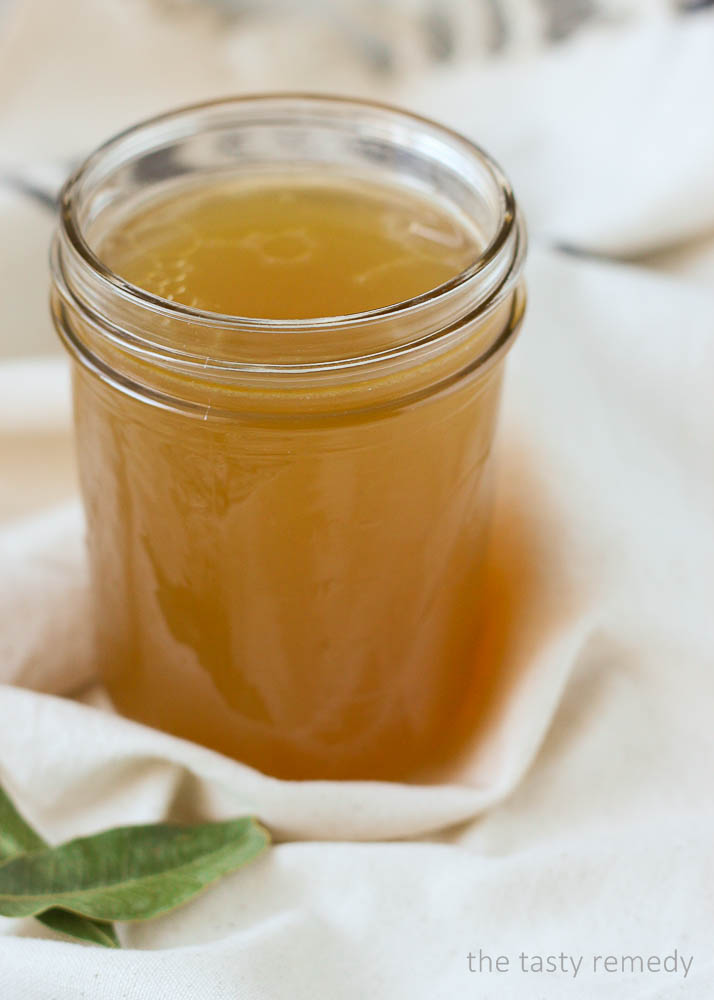
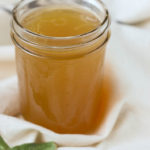
- Using a fine mesh strainer, strain the broth and transfer to your storage containers. I use either glass, or heavy duty BPA free plastic freezer containers.
Directions for the Instant Pot Pressure Cooker
- Add the bones and optional chicken feet to the cooking pot of the Instant Pot. These can be frozen or fresh.
- Add in all the ingredients except the filtered water.
- Cover everything with filtered water, until all the ingredients are fully submerged.
- Place the lid on top and lock into place. Be sure the pressure release valve is set to “Sealing”.
- Press the “Manual” button and charge the time to 120 minutes.
- When cooking is completed, press the “Keep Warm/Cancel” button to terminate the program. Let the pressure release naturally. This can take 15 minutes or more. Set the pressure valve to “Venting” and carefully open the lid.
- Allow broth to cool completely in the cooking pot.
- Using a fine mesh strainer, strain the broth from the cooking pot into your storage containers. I use either glass, or heavy duty BPA free plastic freezer containers.
Notes
- For beef knuckle bones, you can typically reuse them one more time. The broth will be a bit weaker, but will still be a good source of minerals. When the bones start to fall apart, they’re done.
- Store broth in the fridge for up to a week, or in the freezer for a few months.
- Use in soups, sauces, or drink alone. I typically add more salt and additional seasoning when I drink it straight. You can also add a bit of butter to it and blend it in the blender or using an immersion blender. This will be really creamy and tasty!