Sometimes I really miss cereal. Like, really miss it. What I don’t miss though is all that added sugar, refined grains and artificial ingredients! And really, there’s nothing terribly filling about cereal. It’s typically one giant carb bomb that will send you into a sugar crash soon after eating. I’d essentially given up on the notion of a big bowl of cereal when I jumped over into a real food lifestyle, but when grain-free granola popped onto my radar, I knew I’d love it. Instead of overdosing on sugar covered in sugar, grain-free granola consists mainly of fat and protein. Pretty great for keeping you full and avoiding a sugar crash!
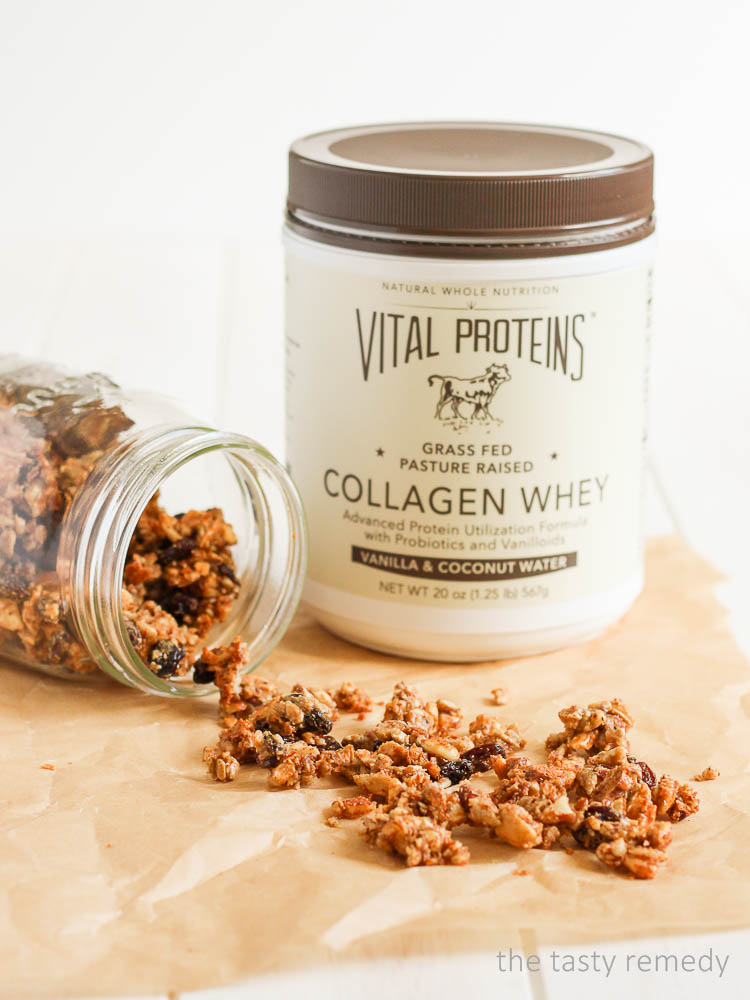
If you have my eBook, A Brunch for the Season: Winter, then you may have seen my Apple Pie Grain-Free Granola. If you haven’t picked up a copy, you should go grab one for yourself here! This time around, I switched up the ingredients a bit and added in a major power player – Vital Proteins Vanilla & Coconut Water Collagen Whey. This added a big boost of protein to this already nutrient dense granola! Like an additional total of 25 grams of protein to the batch!
No lie – baking this Vanilla Spice Grain-Free Granola made my kitchen smell like I was baking cinnamon rolls! I may or may not have drooled a little…
Having this granola on hand can make for a nutrient dense snack on its own or combine it with some coconut milk and fresh berries for a filling meal or treat. It will definitely fulfill anyone’s cereal cravings!
Vanilla Spice Grain-Free Granola
Ingredients
- 1 cup Raw Almonds
- 1/2 cup Raw Pecans
- 1 cup Raw Cashew Pieces
- 1/2 cup Raw Sunflower Seeds
- 1/2 cup Shredded Unsweetened Coconut
- 1 cup Raisins
- 5 Tbsp Coconut Oil
- 1/4 cup Maple Syrup
- 2 scoops Vital Proteins Vanilla & Coconut Water Collagen Whey
- 2 tsp Ground Cinnamon
- 1 pinch Fine Sea Salt
Instructions
- Preheat oven to 280F. Line a large baking sheet with parchment paper or a silicone mat and set aside.
- In a food processor, combine almonds and pecans, and pulse until chopped into very small pieces. Transfer the nuts into a large mixing bowl.
- Add the cashew pieces, sunflower seeds, shredded coconut and raisins to the mixing bowl and stir to combine.
- In a small sauce pan, melt the coconut oil. Once melted, add the remaining ingredients. It’s best to only add one scoop of the collagen whey at a time and stir until smooth.
- Pour the liquid mixture over the dry ingredients and stir to evenly coat.
- Transfer the mixture to the baking sheet and spread out in a thin, even layer.
- Bake for 30 minutes. The granola will still be slightly sticky, but will crisp up as it cools. Allow the granola to cool completely on the baking sheet, then break it apart into small, bite-sized pieces.
- Store in an airtight container in the refrigerator for 1-2 weeks. You have some mad skills if you can resist it enough to keep it around that long!
Notes
**A note on soaking nuts and seeds:
Nuts and seeds all contain phytic acid which is essentially the plant’s defense mechanism. When consumed, the phytic acid acts as an anti-nutrient which can actually steal vitamins and minerals from the body. They also happen to contain enzyme inhibitors which can steal nutrients from the body as well. When nuts and seeds are soaked for an extended amount of time in salt water and then dried, the phytates and enzyme inhibitors can be neutralized, making them much easier to digest. To soak and dry nuts and seeds: Add your nuts and seeds to a large glass bowl and cover with filtered water so that they are full submerged. Add about a tablespoon of unrefined sea salt to the water and swirl everything around. Cover the bowl with a towel and set in a dark, warm spot for 8 hours or overnight. Drain out the water and spread the nuts and seeds on a large baking sheet. Put the baking sheet in the oven at 170F for 12-24 hours. Use a spoon or spatula to move the nuts and seeds around a few times while they’re drying. When you get past 12 hours, be sure to check on them more frequently to prevent burning. The nuts should be crisp when they’re done. From there you can follow the recipe above as written!
This sounds delicious Suzie! I can small it now :)))
Oops! I mean smell ☺️
Smells soooo good!